Welcome to our comprehensive guide on how to safely remove moss from your roof in New Zealand. Moss growth is a common issue for many Kiwi homeowners due to the country’s damp, temperate climate. While it might seem harmless, moss can actually cause significant damage to your roof by retaining moisture, leading to rot, leaks, and a shortened lifespan for your roofing materials. In this guide, we’ll explore why moss grows so readily on roofs in New Zealand, the risks it poses if left untreated, and the best methods for safely and effectively removing it. Whether you’re dealing with a light moss covering or a more extensive growth, this guide will equip you with the knowledge you need to keep your roof in top condition.
To remove moss from your roof in New Zealand, start by manually brushing off the moss with a stiff-bristled brush, working from the top down. Follow up with a moss-killing solution, applying it evenly and allowing it to sit for the recommended time before rinsing off. For long-term prevention, consider installing zinc or copper strips along the roof ridge, as these metals inhibit moss growth. Regular roof maintenance and inspections are key to keeping your roof moss-free.
Table of Contents
Understanding Moss Growth On Roofs
When it comes to maintaining the longevity and appearance of your roof, understanding the issue of moss growth is crucial, especially in New Zealand’s unique climate. Moss may seem harmless at first glance, but it can have significant consequences if left unchecked.
What is Moss?
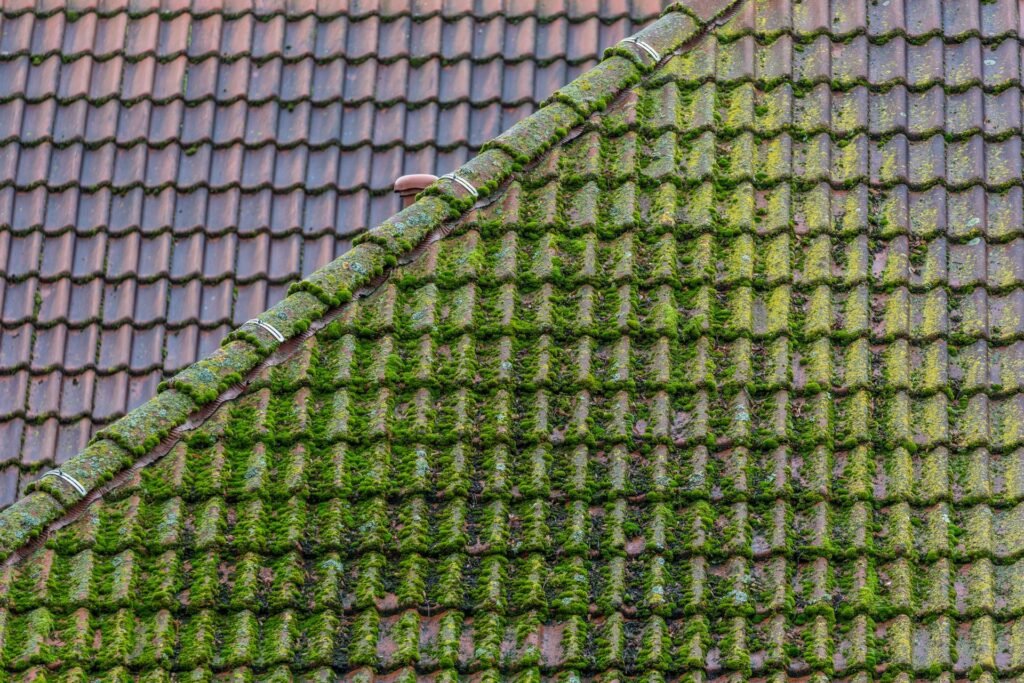
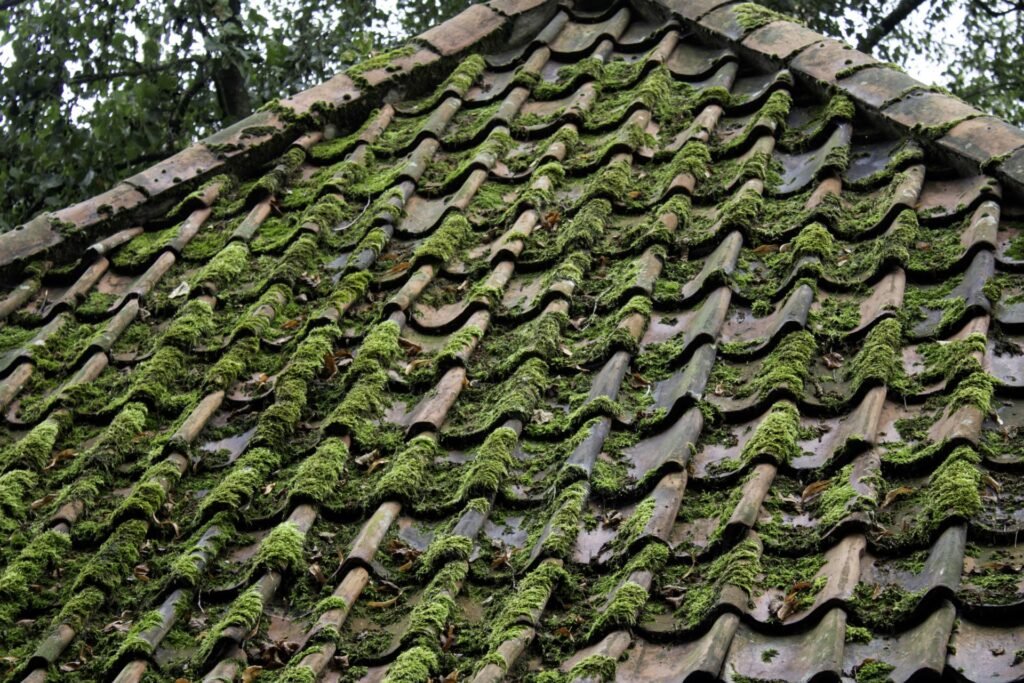
Moss is a small, non-vascular plant that typically thrives in moist, shaded environments. Unlike other plants, moss does not have traditional roots. Instead, it absorbs water and nutrients directly through its leaves, allowing it to grow on various surfaces, including your roof. Moss thrives in environments with consistent moisture and limited sunlight, which makes rooftops, particularly those in shaded or damp areas, ideal breeding grounds for moss.
Why Moss Grows on Roofs in NZ
New Zealand’s climate is particularly conducive to moss growth. With its high levels of rainfall and numerous shaded areas created by surrounding trees or nearby buildings, the conditions are perfect for moss to establish itself. Roofs in areas that receive limited direct sunlight, especially on the south side, are more prone to moss growth. The frequent moisture from rain, combined with the relatively mild temperatures, creates an environment where moss can flourish year-round. This is especially true in regions like the West Coast and parts of the North Island, where rainfall is consistently high.
Risks of Ignoring Moss Growth
While moss might seem like a minor issue, ignoring its presence on your roof can lead to several serious problems. First, moss holds moisture against the roof surface, which can lead to the degradation of roofing materials. Over time, this trapped moisture can cause shingles to rot, warp, or even break apart, significantly reducing the lifespan of your roof.
In addition to structural damage, moss can also create aesthetic issues. Moss-covered roofs can make your home look neglected and unkempt, potentially affecting the curb appeal and value of your property. Moreover, as moss continues to grow, it can lift and displace roofing materials, leading to leaks and further structural damage. In severe cases, the added weight of the moss, particularly when wet, can strain the roof’s integrity, leading to more extensive and costly repairs.
By understanding the nature of moss and the specific conditions that promote its growth in New Zealand, homeowners can take proactive steps to prevent and manage this common issue, ultimately protecting their roofs and preserving the beauty of their homes.
Preparing For Moss Removal
Removing moss from your roof is a critical maintenance task that ensures the longevity and structural integrity of your home. However, before diving into the process, proper preparation is key to ensuring the job is done safely and effectively. This section will guide you through the necessary steps to prepare for moss removal, focusing on safety precautions, the tools and materials you’ll need, and assessing your roof’s condition.
Safety Precautions
When it comes to working on your roof, safety cannot be overstated. The following precautions are essential to avoid accidents and injuries:
1. Use Appropriate Safety Gear: Always wear non-slip shoes, a sturdy harness, and a helmet to protect yourself from falls and head injuries. Gloves are also recommended to protect your hands from rough surfaces and chemicals in the moss removal solution.
2. Avoid Wet or Windy Days: Working on a roof in wet or windy conditions is extremely hazardous. Slippery surfaces increase the risk of falling, and strong winds can make it difficult to maintain balance. Always choose a dry, calm day for your moss removal project.
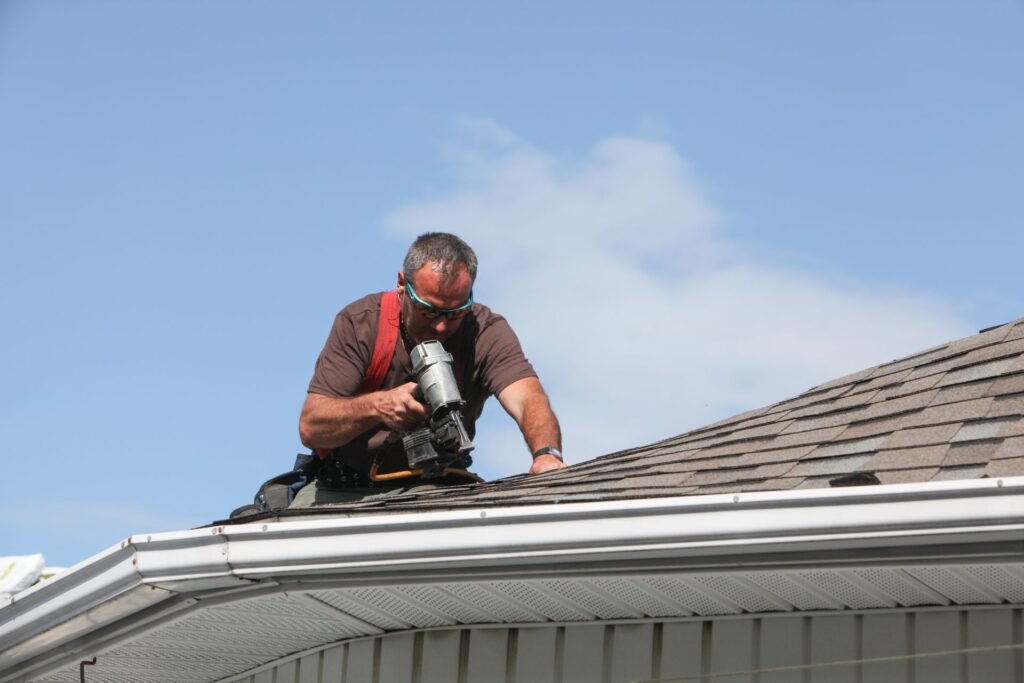
3. Consider Professional Help: If your roof is particularly steep, high, or challenging to access, it may be wise to hire a professional. Professionals have the experience and equipment necessary to handle tricky roofs safely and efficiently, reducing the risk of accidents.
Tools and Materials Needed
Having the right tools and materials on hand before starting will make the moss removal process smoother and more efficient. Here’s what you’ll need:
1. Stiff-Bristled Brush: A stiff-bristled brush is ideal for scrubbing away moss. Choose a brush with a long handle for better reach and control.
2. Ladder: Ensure you have a sturdy ladder that extends at least three feet above the roofline. Position it on level ground and have someone hold it steady while you’re on it.
3. Moss Removal Solution: There are various moss removal solutions available, ranging from chemical treatments to eco-friendly options. Choose one that suits your needs and the type of roofing material you have.
4. Garden Hose: A garden hose with a spray nozzle will help you rinse away moss and debris after scrubbing. Ensure the hose is long enough to reach the entire roof.
5. Protective Clothing: Wear long sleeves, long pants, and eye protection to shield yourself from chemicals and debris. Consider using a mask to avoid inhaling any particles.
Assessing Roof Condition
Before you start removing moss, it’s essential to assess the condition of your roof. This step helps prevent any further damage and ensures that the moss removal process doesn’t exacerbate existing issues.
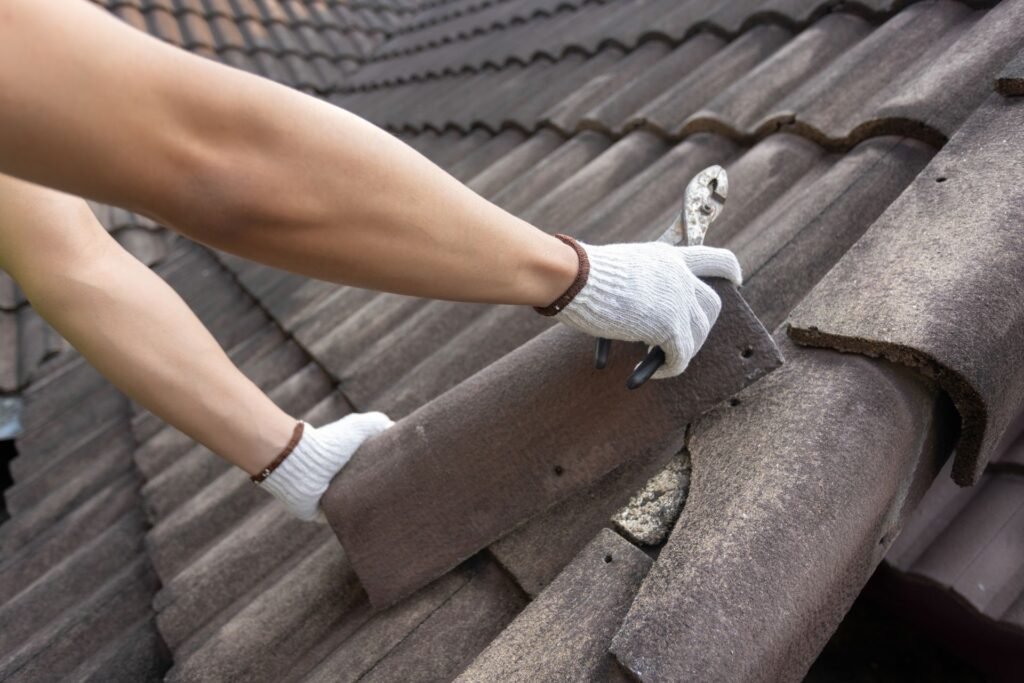
1. Check for Loose Shingles or Tiles: Inspect the roof for any loose or missing shingles or tiles. If you find any, secure or replace them before you begin. Loose shingles can easily be dislodged during the moss removal process, leading to leaks and other damage.
2. Look for Signs of Wear and Tear: Examine your roof for signs of aging, such as cracked tiles, rusted metal, or deteriorated sealant. Addressing these issues beforehand will help maintain your roof’s integrity during and after moss removal.
3. Make Necessary Repairs: If you discover any damage during your inspection, take the time to make the necessary repairs. This might include sealing cracks, securing loose shingles, or even replacing sections of the roof. A well-maintained roof will not only make the moss removal process easier but will also extend the life of your roof.
By taking these preparatory steps, you’ll set yourself up for a successful moss removal project. Ensuring safety, gathering the right tools and materials, and assessing the roof’s condition will help you tackle the task with confidence and care.
Moss Removal Methods
Moss on your roof can be more than just an aesthetic issue—it can lead to water damage, reduce the lifespan of your roofing materials, and increase the likelihood of leaks. Proper removal is crucial to maintaining the integrity of your roof. Here, we’ll explore three effective methods for moss removal, weighing their pros and cons to help you choose the best approach for your specific situation.
Method 1: Manual Removal
Manual removal of moss is a straightforward, chemical-free approach that involves physically scraping the moss off your roof. Here’s how you can do it:
Step-by-Step Guide
1. Gather Your Tools: You’ll need a sturdy ladder, a long-handled brush with soft bristles, and a safety harness. Make sure your ladder is secure before climbing.
2. Start at the Top: Begin brushing at the peak of the roof and work your way downwards. This helps prevent dislodged moss from falling onto already cleaned areas.
3. Use Gentle Pressure: Apply gentle pressure as you brush to avoid damaging the roof’s surface. For tougher moss, you may need to increase the pressure slightly, but be careful not to scratch or dislodge roofing materials.
4. Collect the Moss: As you brush, collect the removed moss in a bag or container. This prevents it from clogging your gutters or washing into your garden beds.
5. Inspect Your Work: After you’ve brushed off the visible moss, inspect your roof for any remaining patches and repeat the process as necessary.
6. Safe Disposal: Dispose of the moss according to local guidelines, particularly if it has been treated with any chemicals in the past.
Pros and Cons
- Pros: Manual removal is a cost-effective method that doesn’t involve chemicals, making it environmentally friendly. It also allows for close inspection of your roof, which can help identify any potential issues.
- Cons: This method can be labor-intensive and time-consuming, especially if your roof is large or the moss is particularly stubborn. Additionally, manual removal may not reach the moss roots, which could lead to regrowth.
Method 2: Chemical Treatments
Chemical treatments are another option for removing moss from your roof. These treatments are designed to kill moss at the roots, preventing regrowth for a longer period.
Choosing the Right Moss Killer
When selecting a moss killer, it’s crucial to choose a product that’s compatible with your roofing material and safe for the New Zealand environment. For example, asphalt shingles may require a different treatment than metal or concrete roofs. Look for products that are labeled as biodegradable or environmentally safe to minimize any adverse effects on your garden or local waterways.
Application Process
1. Prepare the Area: Before applying the chemical treatment, cover any nearby plants or shrubs with plastic sheets to protect them from runoff.
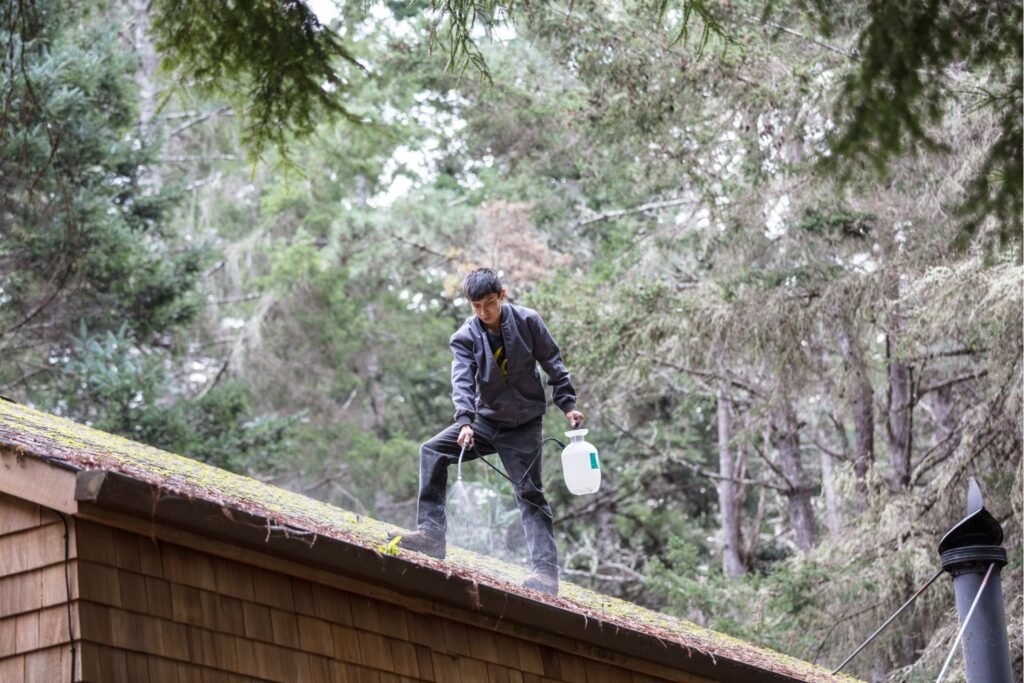
2. Dilute the Chemical: Follow the manufacturer’s instructions for diluting the moss killer. Typically, this involves mixing the chemical with water in a spray bottle or garden sprayer.
3. Apply the Solution: Starting at the top of the roof, spray the solution evenly across the moss-covered areas. Ensure thorough coverage, but avoid over-saturating the roof.
4. Let It Sit: Allow the treatment to sit for the recommended time, usually 15-30 minutes, to penetrate the moss.
5. Rinse Off: After the solution has done its work, rinse the roof with clean water. Be cautious not to use high pressure, as this can damage your roof.
Pros and Cons
- Pros: Chemical treatments are effective at killing moss and can provide longer-lasting results compared to manual removal. They are relatively easy to apply and can cover large areas quickly.
- Cons: The cost of chemical treatments can add up, especially for large roofs. There’s also the potential for environmental impact, particularly if the chemicals are not biodegradable. Additionally, some treatments may stain or damage certain roofing materials, so it’s essential to choose the right product.
Method 3: Pressure Washing
Pressure washing can be an efficient way to remove moss, especially for large or heavily infested roofs. However, it requires careful handling to avoid damaging the roof.
When and How to Use Pressure Washing
Pressure washing is best suited for roofs that are structurally sound and made from durable materials like concrete or metal. It’s not recommended for more delicate roofing materials like asphalt shingles, which can be easily damaged by high pressure.
Step-by-Step Guide
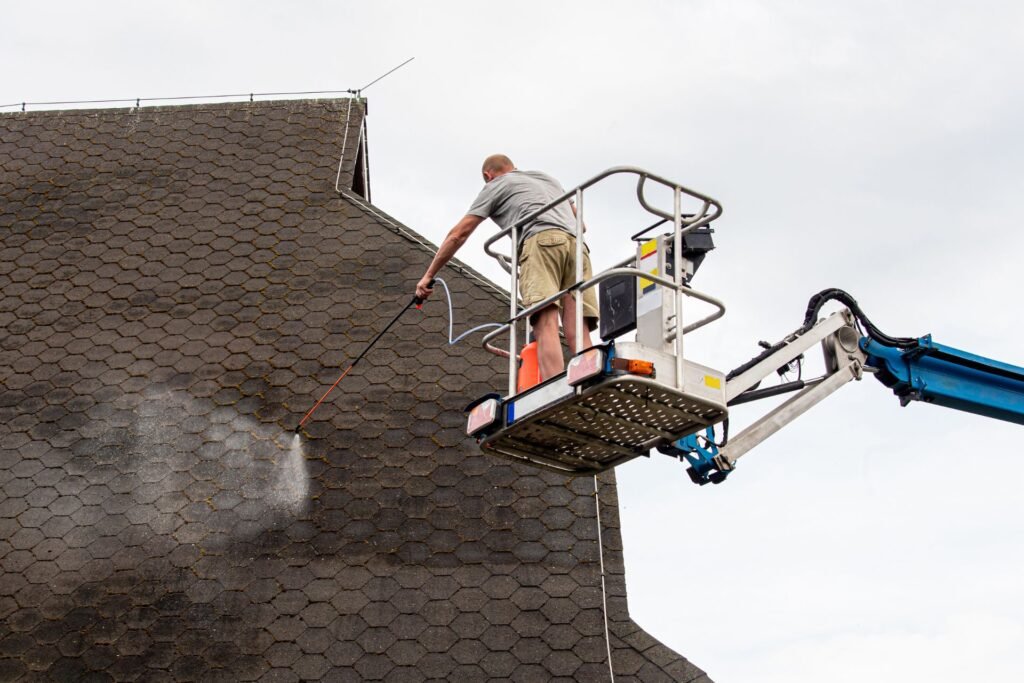
1. Choose the Right Equipment: Select a pressure washer with adjustable settings and attach a wide-angle nozzle to distribute the pressure evenly.
2. Test the Pressure: Before starting, test the pressure on a small, inconspicuous section of the roof. Begin with the lowest pressure setting and gradually increase it until you find the right balance between cleaning power and safety.
3. Start at the Top: Like manual removal, begin at the peak of the roof and work your way down. Hold the nozzle at a 45-degree angle to the roof surface to avoid direct impact.
4. Keep Moving: Move the nozzle in smooth, sweeping motions, maintaining a consistent distance from the roof to avoid gouging the material.
5. Inspect for Damage: After washing, inspect the roof for any signs of damage, such as dislodged shingles or gouges. If you notice any issues, consider repairing them promptly.
Pros and Cons
- Pros: Pressure washing is highly effective for removing moss and other debris, leaving your roof looking clean and fresh. It’s also faster than manual removal, especially for large areas.
- Cons: The primary risk with pressure washing is the potential for damaging your roof. Using too much pressure can strip away protective coatings, dislodge shingles, or even cause leaks. Additionally, pressure washing doesn’t address the moss roots, which means regrowth could occur.
Each method for removing moss from your roof comes with its own set of advantages and drawbacks. Manual removal is gentle and eco-friendly but labor-intensive. Chemical treatments offer long-lasting results but require careful handling and consideration of environmental impact. Pressure washing is quick and effective but carries a higher risk of roof damage. By weighing these factors and considering your specific roof type and local environment, you can choose the best method to keep your roof moss-free and in great condition for years to come.

Preventing Future Moss Growth
Maintaining a moss-free roof goes beyond simply removing the moss that’s currently there. To ensure that your roof remains in great condition and free from moss in the long term, it’s essential to take proactive steps. Below are some practical strategies to prevent future moss growth on your roof.
Regular Roof Maintenance
Consistent roof maintenance is your first line of defense against moss growth. Moss thrives in damp, shaded environments, and debris like leaves and branches can create the perfect habitat by trapping moisture. Regularly clearing your roof of such debris not only prevents moss but also helps to prolong the life of your roofing materials. Here are a few tips:
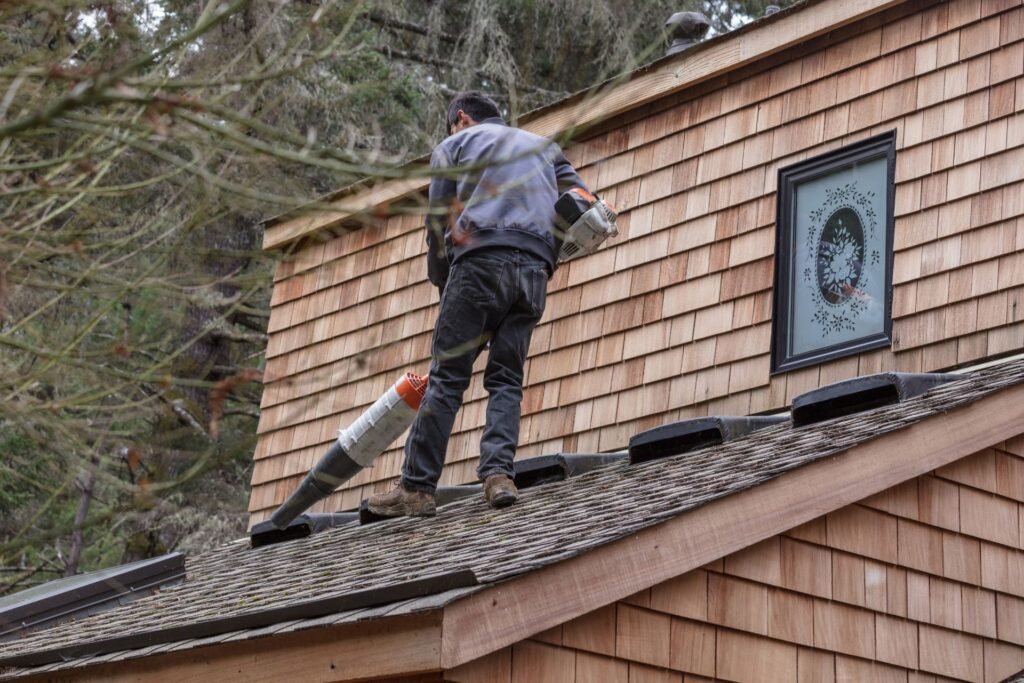
- Clear Debris Regularly: Use a roof rake or a soft-bristle broom to gently remove leaves, twigs, and other debris from your roof, especially after a storm or during the fall when leaves are most likely to accumulate.
- Clean Your Gutters: Clogged gutters can lead to water overflow, which keeps the roof edge constantly wet, a prime location for moss to grow. Make sure your gutters are free-flowing and direct water away from your roof.
- Trim Overhanging Branches: Shaded areas of the roof dry out more slowly, making them more susceptible to moss growth. Trim back any tree branches that hang over your roof to increase sunlight exposure and improve air circulation.
Improving Roof Ventilation
Roof ventilation plays a critical role in maintaining the overall health of your roof. Poor ventilation can lead to moisture buildup in your attic, which can then seep into your roof and create a damp environment conducive to moss growth. By improving roof ventilation, you can reduce the moisture level, making it harder for moss to take hold.
- Check Existing Ventilation: Inspect your attic space to ensure that it’s properly ventilated. Look for signs of moisture, such as damp insulation or condensation on windows, which could indicate poor airflow.
- Install Additional Vents if Necessary: If your attic lacks sufficient ventilation, consider installing additional vents, such as ridge vents, soffit vents, or attic fans, to promote better air circulation. Proper ventilation not only prevents moss but also helps regulate the temperature inside your home, improving energy efficiency.
Installing Zinc or Copper Strips
One of the most effective methods for preventing moss growth is to install zinc or copper strips along the ridge of your roof. These metals are toxic to moss, and when rainwater flows over them, it carries trace amounts of metal down the roof, creating an environment where moss cannot thrive.
How to Install Zinc or Copper Strips
- Measure and Cut the Strips: Purchase zinc or copper strips that are about 2-4 inches wide. Measure the length of your roof ridge and cut the strips to fit.
- Install Under the Ridge Cap: Lift the ridge cap (the top layer of shingles at the roof’s peak) slightly and slide the metal strips underneath. Ensure that about half an inch of the strip remains exposed to the elements.
- Secure the Strips: Use roofing nails or screws to secure the strips in place. Be careful not to damage the shingles or the integrity of the roof.
- Check for Compatibility: Zinc and copper strips are safe for most roofing materials, but it’s wise to check with the roofing manufacturer to ensure that using metal strips won’t void any warranties.
Regular Inspections
Regular inspections are crucial for catching any signs of moss growth early before it becomes a significant problem. It’s especially important to inspect your roof after winter or heavy rains, as these conditions can promote moss development.
- Perform Visual Inspections: Walk around your home and use binoculars to check for any green patches or areas where debris has accumulated. Pay special attention to the north side of the roof, as it tends to stay cooler and wetter.
- Hire a Professional: If you’re uncomfortable inspecting the roof yourself or if your roof is particularly steep, consider hiring a professional roofer to conduct regular inspections. They can also check for other issues, such as damaged shingles or leaks, and perform maintenance as needed.
By incorporating these strategies into your home maintenance routine, you can effectively prevent moss from re-establishing on your roof, ensuring that it remains clean, dry, and in optimal condition for years to come.
When To Call A Professional
Maintaining a roof free of moss is crucial for both the aesthetics and longevity of your home. While there are numerous DIY methods available for moss removal, certain situations might warrant the expertise of a professional. Knowing when to step back and bring in the experts can save you time, ensure your safety, and ultimately protect your roof from potential damage.
Assessing the Need for Professional Help
There are several scenarios where calling a professional for moss removal is not just advisable but essential:
- Extensive Moss Growth: If your roof has large areas covered in moss, it may be challenging to remove it effectively on your own. Moss can take root deeply into shingles, and removing it without causing damage can be tricky. Professionals have the right tools and techniques to handle even the most stubborn moss growths without compromising your roof’s integrity.
- Steep Roofs: If your home has a steep or multi-level roof, attempting to remove moss on your own can be risky. Working at height requires not only the proper safety equipment but also experience in maneuvering around different roof angles. Professionals are trained to handle these conditions, ensuring that the job is done safely and efficiently.
- Safety Concerns: If you’re uncomfortable working on a roof or don’t have the necessary equipment, it’s best to leave the job to a professional. Slippery moss can make roof surfaces extremely hazardous. Professionals are equipped with the proper safety gear and have the experience to navigate these risks.
Calling in a professional is not a sign of defeat but rather a smart move to protect both your safety and your home.
What to Expect from a Professional Service
Hiring a professional moss removal service offers more than just the removal of unwanted greenery. Here’s what you can typically expect:
- Thorough Inspection: A professional service will start with a detailed inspection of your roof. They’ll assess the extent of moss growth, check for any underlying damage, and identify areas that are particularly susceptible to moss regrowth. This step is crucial as it helps in tailoring the moss removal process to your roof’s specific needs.
- Tailored Moss Removal: Based on the inspection, the professionals will use methods and products that are best suited for your roof type. Whether it’s a low-pressure wash, chemical treatment, or manual removal, the approach will be customized to ensure effectiveness while minimizing potential damage to your roofing materials.
- Preventative Treatments: After removing the moss, professionals often apply treatments designed to prevent future growth. This might include fungicidal washes or the installation of zinc or copper strips along the ridge of your roof. These measures help extend the life of your moss-free roof, saving you from frequent cleanings and potential damage down the road.
By opting for professional services, you’re ensuring that the job is done thoroughly and that preventative measures are in place to keep your roof in top condition.
Cost Considerations
When considering hiring a professional for moss removal, it’s essential to understand the costs involved. The price can vary based on several factors:
- Size and Type of Roof: Larger roofs or those with complex shapes, like gables or dormers, will generally cost more to treat. The type of roofing material can also influence the price, as some materials require more delicate handling or specific treatments.
- Extent of Moss Growth: The severity of moss coverage is a significant factor. A roof with light moss growth will be quicker and cheaper to clean than one that has been heavily infested over time.
- Location and Accessibility: If your roof is difficult to access or requires special equipment for safe moss removal, this can increase the cost. Homes in remote locations might also face higher charges due to travel expenses for the professional service.
In New Zealand, the cost for professional moss removal can vary widely, but you can expect to pay anywhere from $500 to $1,500 depending on the factors mentioned above. It’s always a good idea to get several quotes and check what each service includes to ensure you’re getting the best value for your money.
While DIY methods might seem more cost-effective initially, professional moss removal is an investment in your home’s longevity and your peace of mind. Professionals ensure that moss is not only removed but that your roof is protected from future growth, making it a worthy consideration for any homeowner.
FAQs: About How To Remove Moss From Roof NZ
What is the best time of year to remove moss from my roof in New Zealand?
The best time to remove moss from your roof in New Zealand is during the late spring or early summer. This period offers the ideal balance of mild weather, ensuring the roof is dry enough to work on safely while also preventing moss from growing back quickly. Avoid attempting moss removal in the winter or during wet weather, as this can make the roof slippery and dangerous to navigate.
Is it safe to use bleach on my roof to remove moss?
While bleach can be effective at killing moss, it’s not the safest option for your roof or the environment. Bleach can damage roofing materials, particularly asphalt shingles, and can also harm plants and wildlife around your home. It’s better to use a moss-killing solution specifically designed for roofs, which is less likely to cause damage and more environmentally friendly.
Can I prevent moss from growing back without using chemicals?
Yes, you can prevent moss from growing back by improving your roof’s conditions. Regular maintenance, such as removing debris and ensuring proper drainage, can reduce moisture build-up. Additionally, installing zinc or copper strips along the roof ridge can naturally inhibit moss growth, as rainwater washing over these metals creates an environment that discourages moss.
How often should I check my roof for moss?
It’s advisable to check your roof for moss at least twice a year, preferably in spring and autumn. Regular inspections allow you to catch any moss growth early and take action before it becomes a more significant problem. After particularly wet seasons, it’s also a good idea to inspect your roof to ensure that moss hasn’t taken hold.
What are the risks of not removing moss from my roof?
Failing to remove moss from your roof can lead to several problems, including moisture retention, which can cause the roofing materials to deteriorate. Moss can also lift shingles or tiles, making your roof more susceptible to leaks. Over time, this can lead to structural damage, resulting in costly repairs or even the need for a complete roof replacement.
Can I remove moss from my roof myself, or should I hire a professional?
Whether you should remove moss yourself or hire a professional depends on the extent of the moss growth, the type of roof, and your comfort level with working at heights. If the moss coverage is light and your roof is easily accessible, you may be able to handle the job yourself. However, for larger infestations, steep roofs, or if you’re unsure about the process, hiring a professional is recommended to ensure the job is done safely and effectively.
How do zinc or copper strips prevent moss growth?
Zinc and copper strips work by releasing small amounts of metal ions when it rains. These ions create an environment that is hostile to moss, preventing it from growing. The strips are typically installed along the roof ridge, allowing rainwater to wash the metal down the roof surface, thus inhibiting moss growth across the entire roof.
What are the most common types of moss that grow on roofs in New Zealand?
In New Zealand, the most common types of moss found on roofs are Bryophytes, including species like Hypnum and Dicranum. These mosses thrive in the damp, shaded conditions often found on roofs, especially in regions with high rainfall. They can be identified by their dense, green mats that cling to roofing materials.
How much does professional moss removal cost in New Zealand?
The cost of professional moss removal in New Zealand varies depending on factors such as the size of the roof, the extent of the moss growth, and the roof’s accessibility. On average, you can expect to pay between NZD $500 and $1,500 for a standard-sized home. This price usually includes a thorough inspection, moss removal, and the application of a preventative treatment.
Can moss removal damage my roof?
If done incorrectly, moss removal can damage your roof. Using harsh chemicals, excessive force, or the wrong tools can strip away protective coatings or loosen shingles and tiles. It’s essential to follow recommended methods, such as gently brushing the moss away and using roof-safe cleaning solutions, to avoid causing damage. If you’re unsure, hiring a professional can help ensure that the moss is removed without harming your roof.
Conclusion
In conclusion, maintaining your roof is essential for the longevity and safety of your home. By regularly inspecting and addressing issues like moss growth, you can prevent costly damages and ensure your roof remains in optimal condition. The methods discussed—ranging from manual removal to the use of specialized treatments—highlight the importance of proactive care. Taking action now, rather than later, can save you significant time and expense. Don’t hesitate to inspect your roof or seek professional advice if needed. Local roofing experts are just a call away and can provide the support and solutions necessary to keep your roof in top shape.
About the Author:
Mike Veail is a recognized digital marketing expert with over 6 years of experience in helping tradespeople and small businesses thrive online. A former quantity surveyor, Mike combines deep industry knowledge with hands-on expertise in SEO and Google Ads. His marketing strategies are tailored to the specific needs of the trades sector, helping businesses increase visibility and generate more leads through proven, ethical methods.
Mike has successfully partnered with numerous companies, establishing a track record of delivering measurable results. His work has been featured across various platforms that showcase his expertise in lead generation and online marketing for the trades sector.
Learn more about Mike's experience and services at https://theleadguy.online or follow him on social media:
